
Doing the right things in the wrong order is the most expensive mistake in site work. Here is the sequence, and why each step depends on the one before it.
Every step of site preparation assumes the previous one is finished. Skip ahead and you end up redoing work — usually the expensive kind.
1. Survey and stake
Before a machine touches the ground. Property boundaries, setbacks, easements, and the actual building footprint marked on the dirt.
You cannot cost, permit, or build against a location that is approximate. And discovering a setback problem after excavation is a genuinely bad day.
2. Soil and percolation testing
If you are on a septic system, the perc test determines what kind of system you can install and where it can go — which frequently determines where the house can go. Do this before you commit to a house location, not after.
Soil bearing capacity matters for the foundation design. On some Midwest ground, what looks fine on the surface is not what an engineer wants under a footing.
3. Permits and utility locates
Construction stormwater permitting applies to land disturbance of one acre or more — the Construction Stormwater General Permit through IDEM in Indiana, the Construction General Permit through Ohio EPA in Ohio. Smaller lots inside a larger development often get pulled in too. Confirm what applies to your site.
County permits vary: building, floodplain, drainage, road approach, sometimes more.
811 utility locates are free and required. Call before any digging.
4. Access first
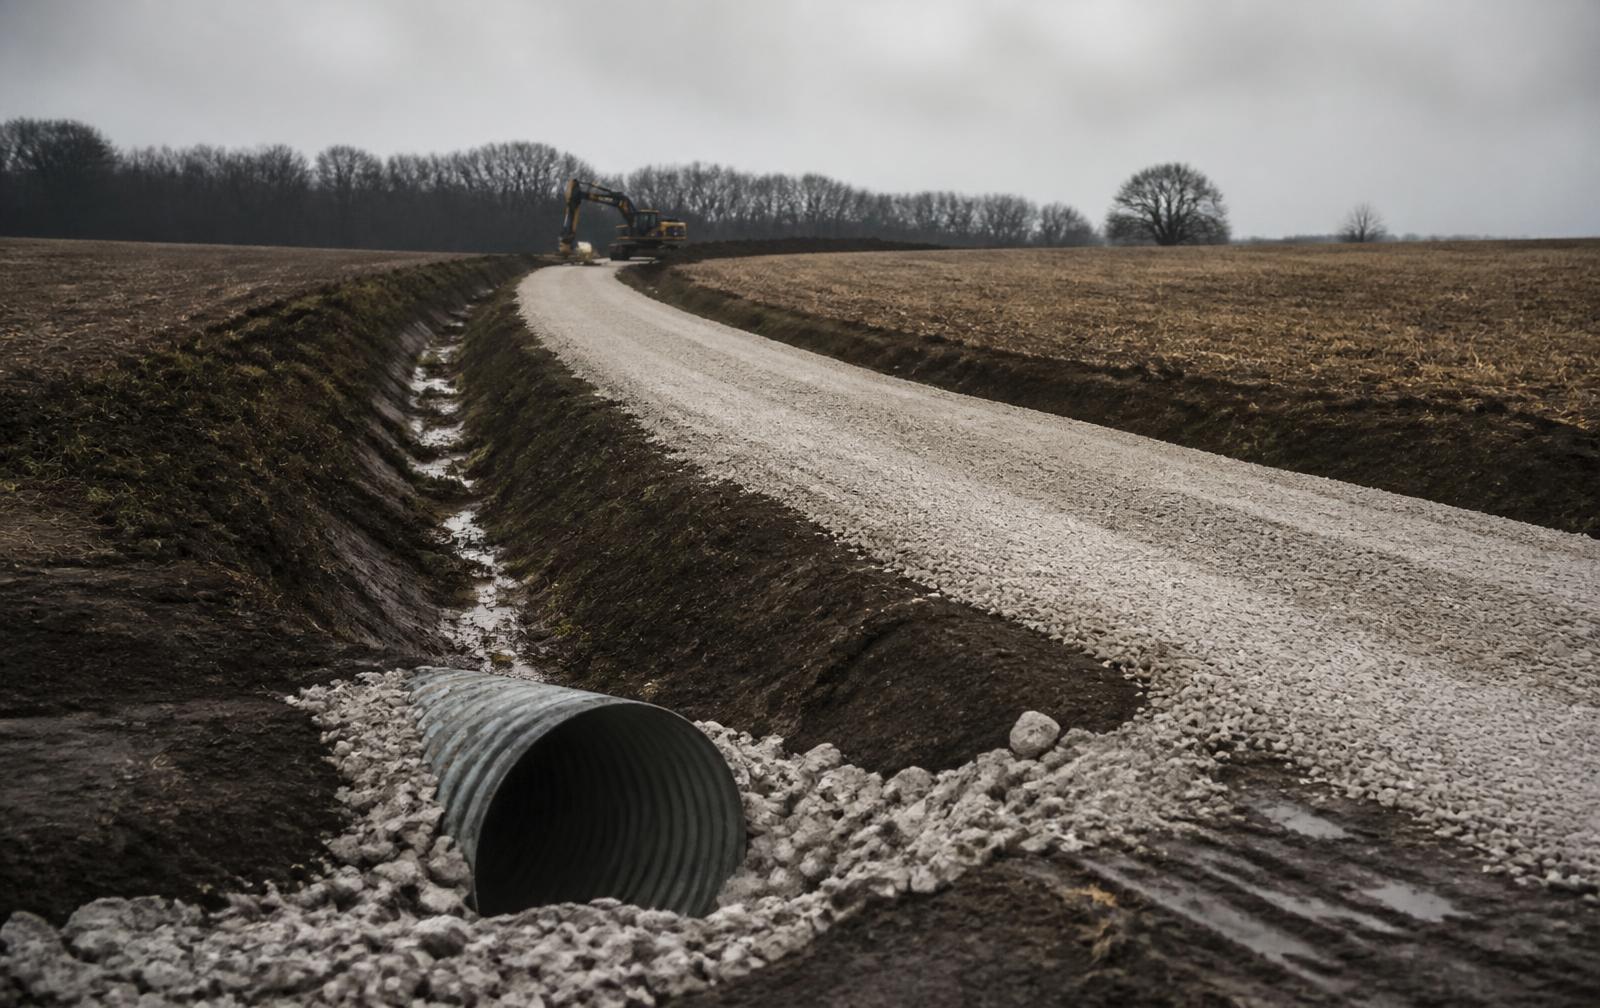
Build the construction entrance and the driveway route before you need them.
Every truck, every delivery, and every piece of equipment for the rest of the project uses this. Building it last means running heavy loads across raw ground all season and then repairing it.
A stabilized construction entrance — coarse stone at the road — also keeps you from tracking mud onto the public road, which is both a nuisance and, in many jurisdictions, a violation.
5. Clearing
Now remove vegetation. Clear the building footprint, the driveway route, the septic area, and any working room you need around each.
Do not clear more than you need. Every square foot cleared is a square foot exposed to erosion and a square foot you may want to have kept for shade or screening.
6. Erosion control
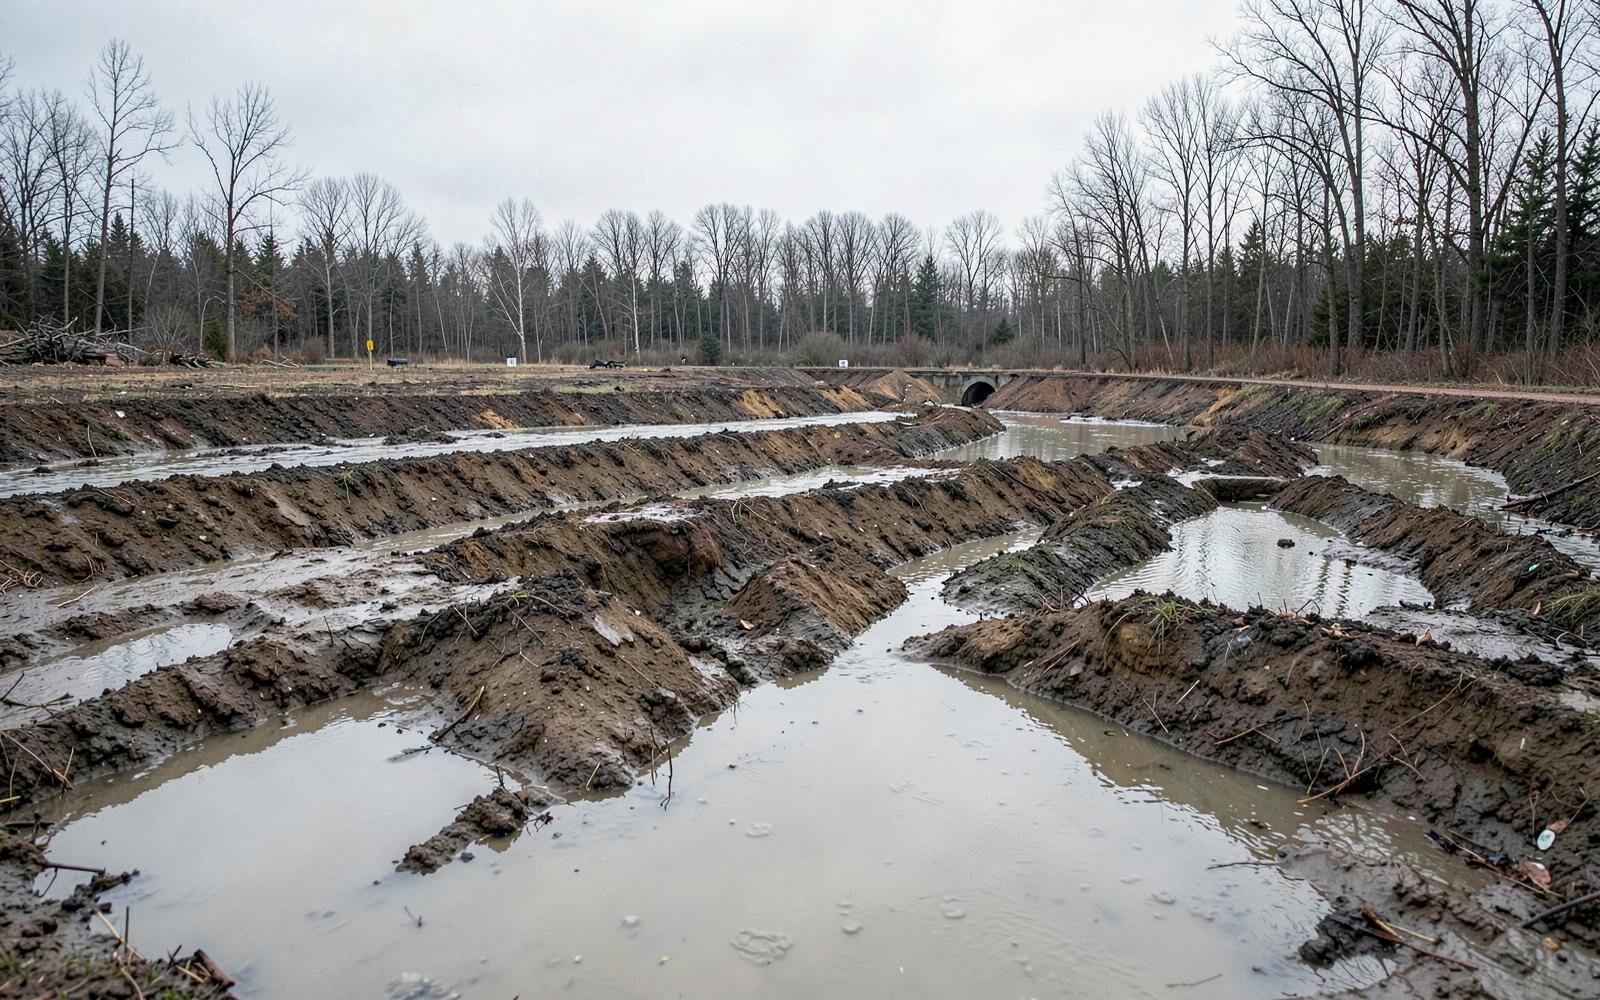
Before major earthwork, get controls in: silt fence on the downhill sides, inlet protection, and a plan for stabilizing disturbed ground. This is not just a permit requirement — it is what keeps your topsoil on your site.
7. Grubbing and topsoil stripping
Roots and stumps out of anything that will be built on. Topsoil stripped and stockpiled separately — it is valuable, and you will want it back for final grading and seeding.
Keep the stockpile out of the way and seed or cover it if it will sit for months.
8. Rough grading
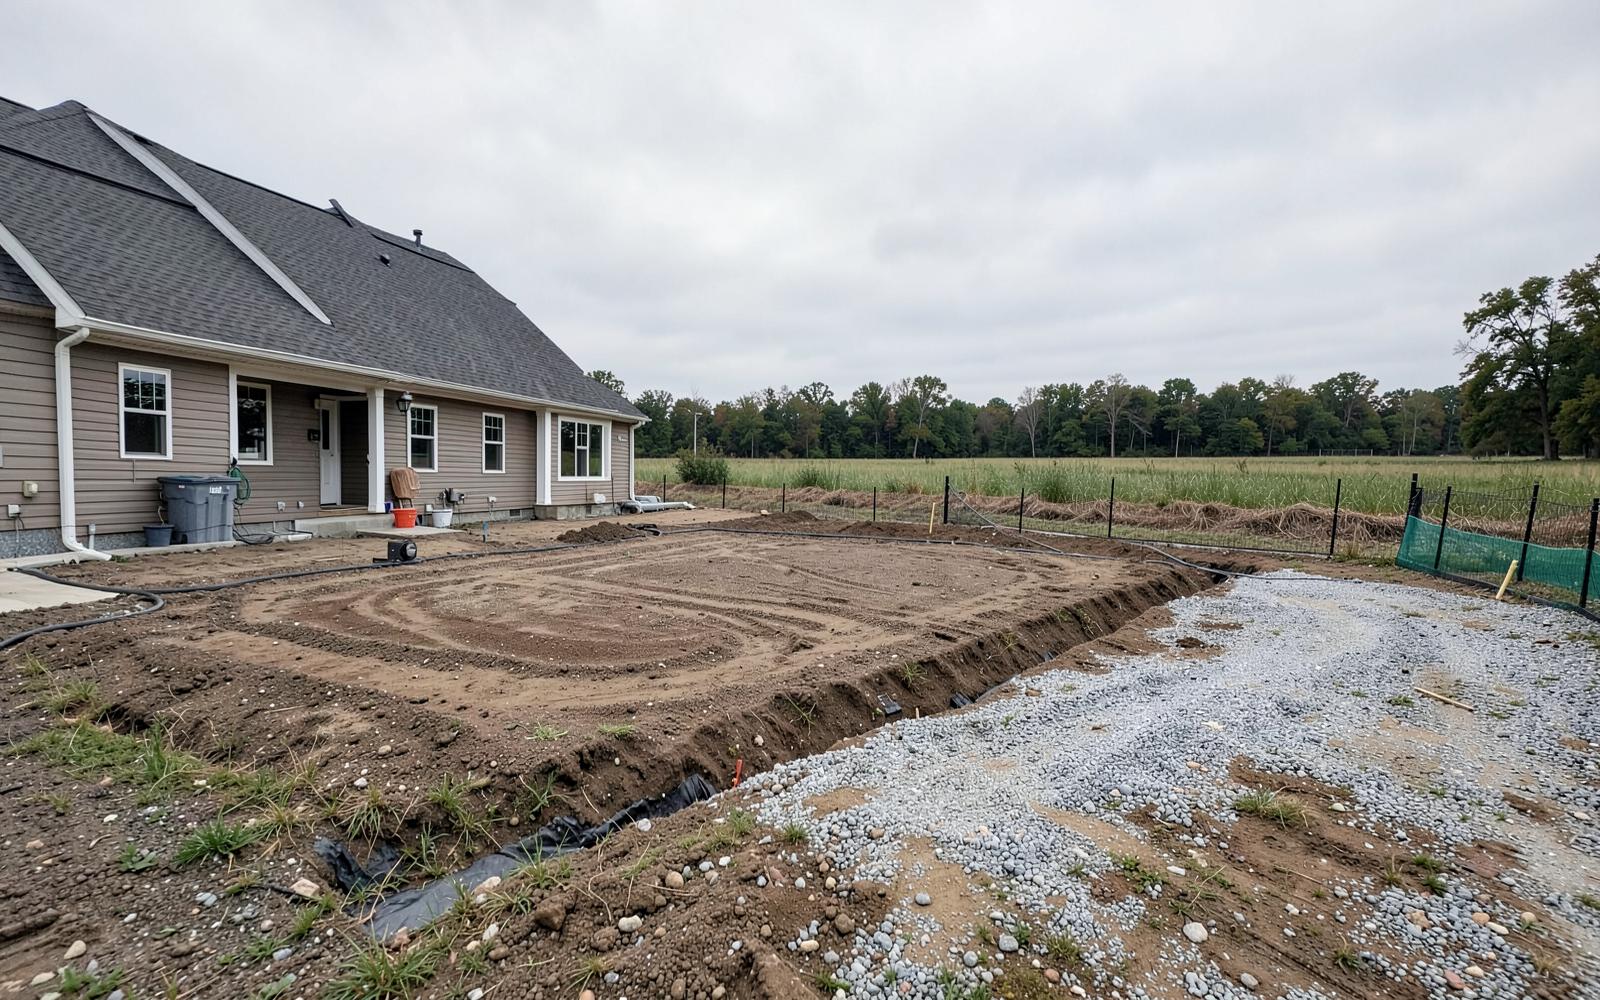
Cut and fill to establish the building pad and general contours. Fill placed in lifts and compacted; uncompacted fill settles and takes your foundation with it.
The pad should be higher than the surrounding grade, and the ground should slope away from it in every direction. This single detail prevents an enormous share of wet-basement problems.
9. Drainage and utilities
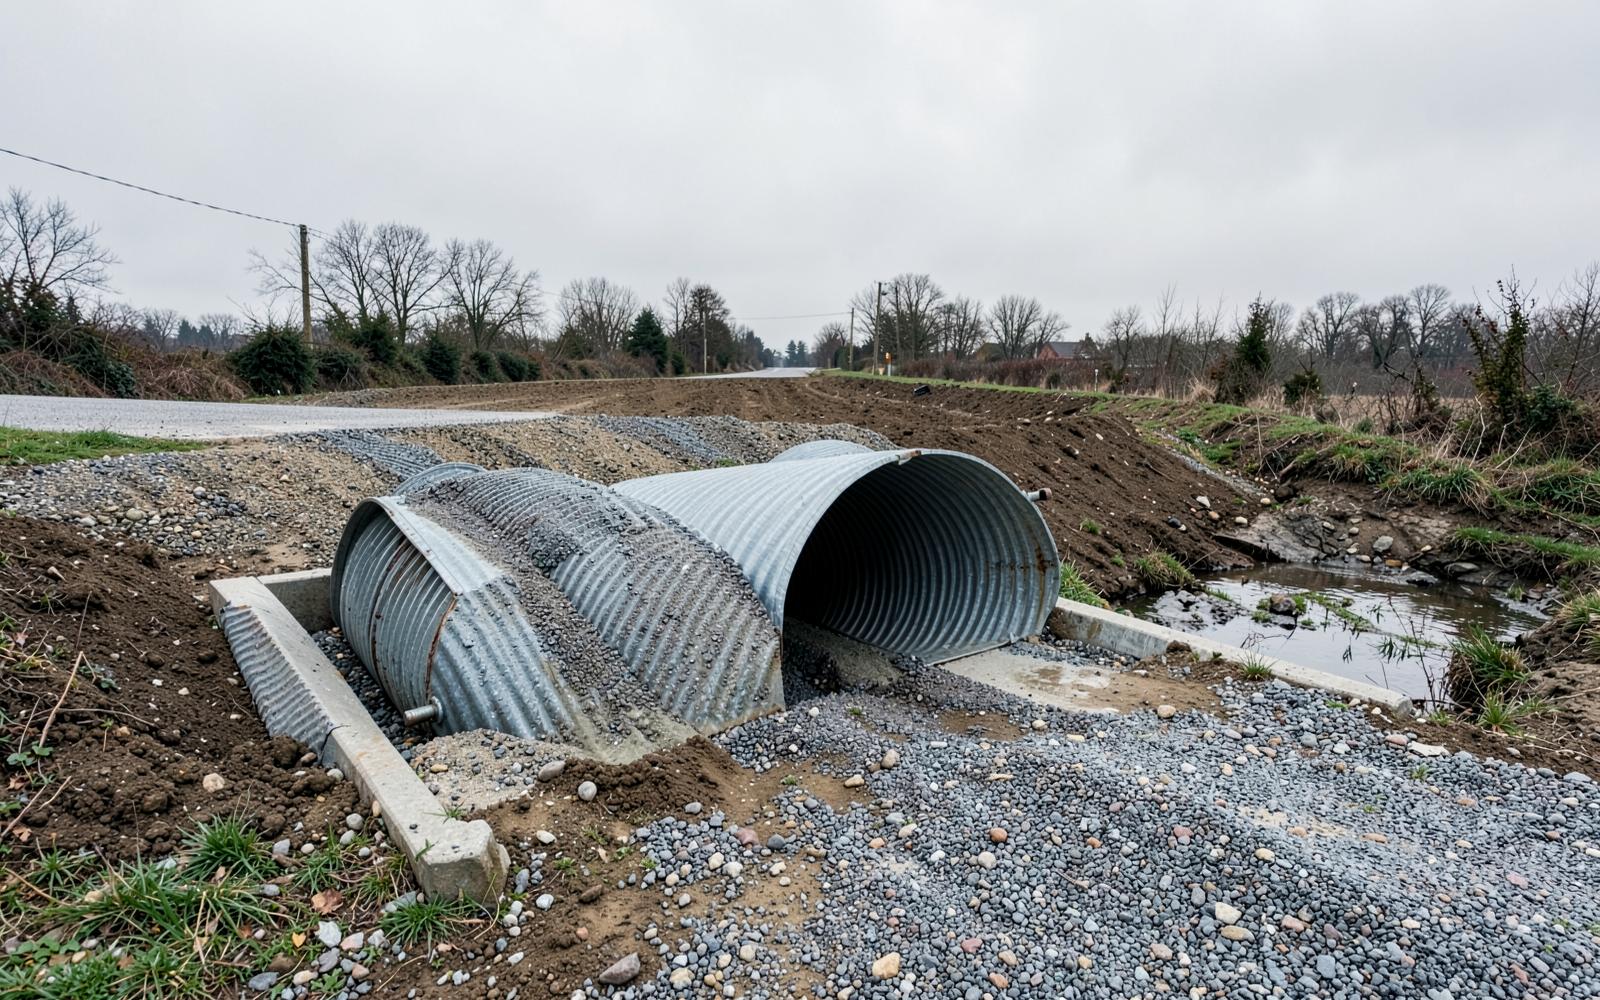
Underground work in the right sequence: septic, water, electric, any drain tile or French drains, footing drains.
Anything that goes under the driveway or the pad goes in now. Cutting a finished driveway to run a line later is pure waste.
10. Final grading and stabilization
Topsoil back, final contours, seed and mulch or sod. Get cover established quickly — bare ground through a Midwest winter is bare ground that ends up in the ditch.
The two mistakes that cost the most
Building the driveway last. Guarantees a season of damage and a rebuild.
Under-compacting fill. Invisible until it is a crack in your slab. Compaction testing on structural fill is cheap relative to the alternative.
Where clearing fits
On wooded ground, mulching the site first often makes everything after it faster — the excavator operator can finally see the terrain, the drainage, and the grade. It is frequently worth doing as its own step rather than bundling it into the earthwork.
Planning a build? We can handle the clearing and site work, or just the clearing if you have an excavator lined up. Developers and builders — contract opportunities welcome.